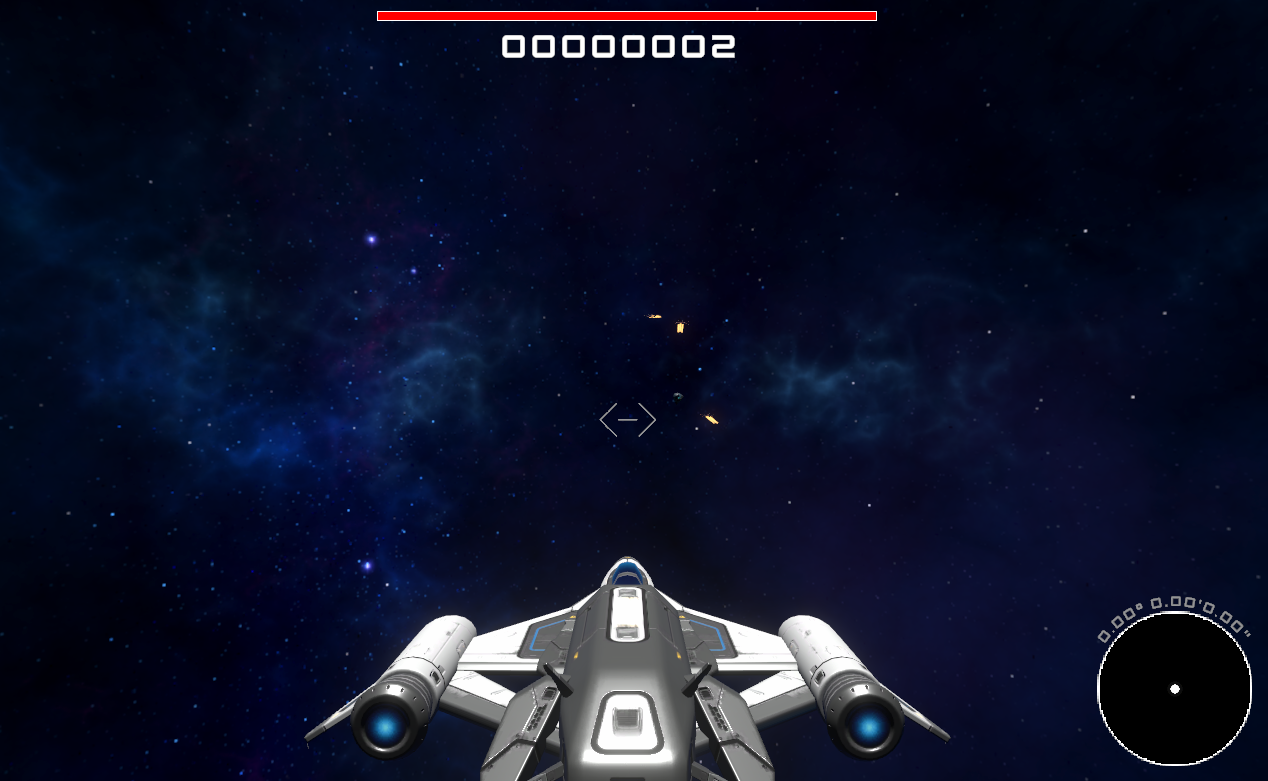
For my game design class, I’ve been starting to prototype a third person space shooter in Unity. A small, but important feature that I wanted to implement was a minimap so the player could have a sense of where important objects are located outside of their view.
I started by creating a second camera GameObject called “MinimapCamera.” I set the render type to “Base” and the projection to orthographic. Additionally, I set the background type to solid color and changed that color to solid black (#000000).
Back in the assets folder, I made a new render texture asset and named it “MinimapRenderTexture.” I then assigned this render texture to the “output texture” field on the MinimapCamera. This takes the input from the MinimapCamera and outputs it to the MinimapRenderTexture. Now, all we need to render our minimap is to assign this render texture to a UI element.

I wanted my minimap to be round, so before making the minimap, I first created an Image GameObject to serve as a mask for the minimap. I set the source image of the Image component to “circle.” This is a sprite that is included with Unity 2022.3.39f1. I then made sure that “maskable” was set to true.
As a child of the mask, I then created a Raw Image GameObject. This is similar to a sprite in that in can render 2D graphics, but it used for higher resolution textures and is less performant than a sprite. The texture property on this Raw Image is where we will assign the MinimapRenderTexture.

Back on the MinimapCamera, we need to add one more component. Right now the camera is rendering to the minimap, however when we hit the play button, the camera will not follow the player. I created a new script called “MinimapCamera.cs” and added the following code:
using UnityEngine;

namespace SpaceShooter
{
    public class MinimapCamera : MonoBehaviour
    {
        private void Update()
        {
            // Gets the transform attached to the player ship.
            Transform playerShip = GameManager.Instance.GetPlayerShip().transform;

            // Sets the position of the camera to 100 units directly above the position of the player ship.
            transform.position = playerShip.position +
                (playerShip.up * 100);

            // Rotates the camera around the player ship to offset the ship's rotation.
            transform.Rotate(playerShip.position - transform.position,
                -playerShip.rotation.y);

            // Rotates the camera locally to look at the player ship.
            transform.LookAt(playerShip);
        }
    }
}
I then attached this script to the MinimapCamera GameObject.
Right now, the MinimapCamera would work, however it would render the scene almost exactly as it would from the main camera, just from a different position. In my case, however, I wanted the minimap to be a more stylized representation of what was going on in the scene. I didn’t want every object to be rendered on the minimap. All I wanted, were dots representing the planes, as well as the lasers that they shoot.
The way to resolve this was with some clever culling techniques available to us with Unity’s layer system. I used Unity’s default layer for objects that I wanted rendered on the main camera, and then I created another layer called “minimap” for objects I wanted rendered on the minimap camera. Additionally, I made a third layer called “both” for objects that I wanted to render on both cameras. I then went to my main camera and under the culling mask property, I checked every layer except for “minimap.” I then went to my minimap camera and other the same property, only checked “minimap” and “both.”
On each of my ship prefabs, I left them on the default layer, but created a large unlit sphere on the “minimap” layer. This sphere would appear as a dot on the minimap in the position of the ship. I then went over to my laser prefab and moved it onto the “both” layer.
Finally, the minimap was ready to use. I added a border, player coordinates, and anchored it to the bottom right of the screen before testing it out in-game.


